


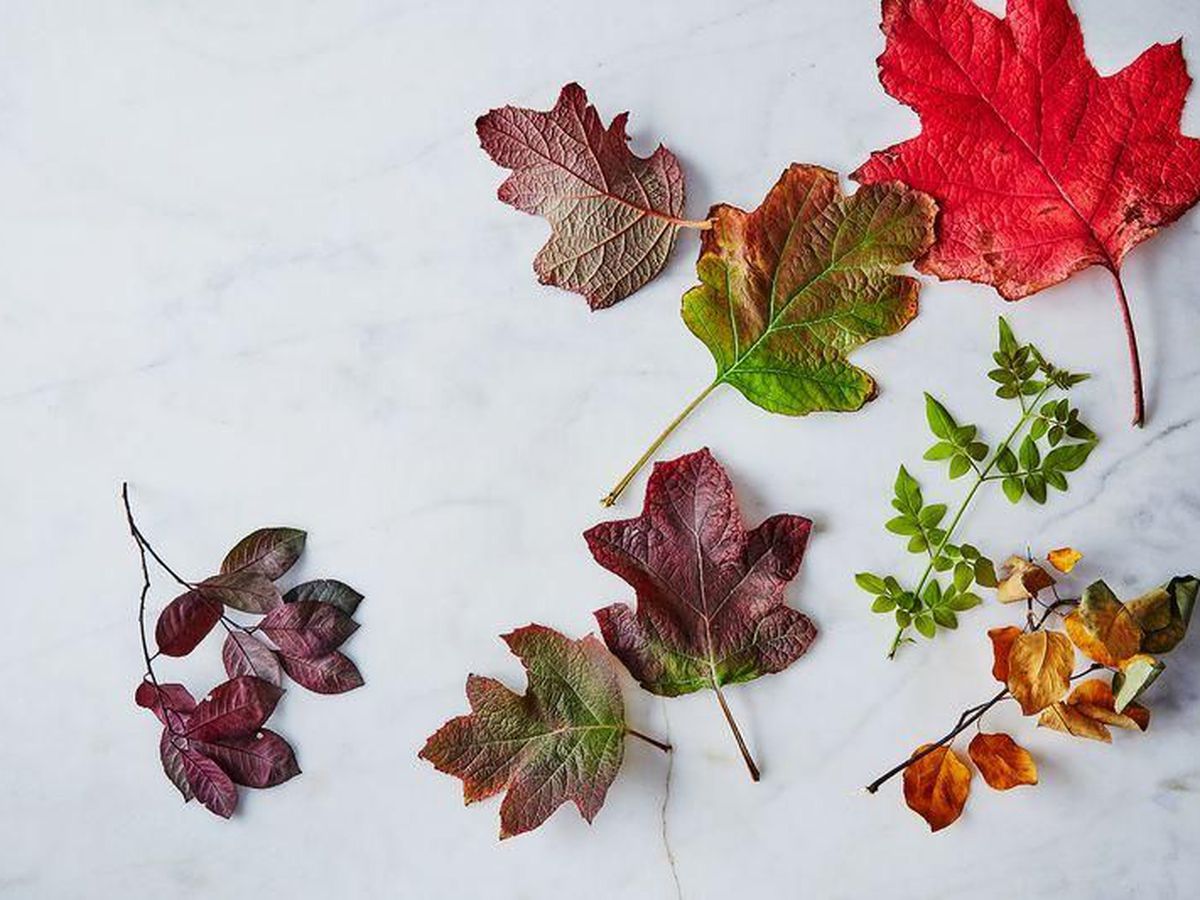
Whenever fall comes around, the perfect opportunity arises to press fallen leaves and create some magical art for your home. The stunning changing colors in varying shades of reds, oranges, and yellows can let you create some gorgeous pieces.
However, leaf pressing doesn’t have to be restricted just to fall. In fact, you can create these beautiful works of art year round. You can recruit your kids to collect leaves all year long and together create preserved leaves projects.
Choosing Proper Leaves Is Crucial
There are a few things to keep in mind while collecting leaves. It’s important to make sure that the leaves you collect do not have any fungi growing on them or any insects living on them. Make sure you absolutely never take leaves from National Parks.
Familiarize yourself with what poison ivy looks like so that you can make sure you and your family do not touch it while collecting leaves. Last but not least, try to find leaves that are not high in moisture, as the drier they are, the easier it will be to press them.
There are several methods you can use in order to press leaves. Of course, the most popular tried and true method is pressing leaves in large books. It is critical that the leaves are perfectly dry before you do this so that you do not damage the book. You can also do this with newspaper if you don’t want to risk using a book.
Pressed & Preserved Leaves Make Beautiful Works Of Art
Another method is to use an iron with wax paper. Choose a flat leaf, and make sure it is dry. Place it between two sheets of wax paper and then put a cloth over the wax paper. Put another piece of cloth on top of the ironing board and place the covered wax paper on top. This will help prevent the wax from melting on the cloth.
With the iron on high (no steam) start to gently press on the top cloth. Make sure the leaf doesn’t move around. Press down and make sure the wax paper has fully sealed around the leaf. Once the wax paper has fully melted, the paper will become clearer. Allow for it to completely cool and then you can cut the leaf out, making sure to leave a border to keep it sealed.
To preserve leaves, there are also several methods you can try. The first involves using a microwave, but you must monitor the process the whole time so the leaves don’t catch on fire. This must be done with fresh leaves that have no dried out.
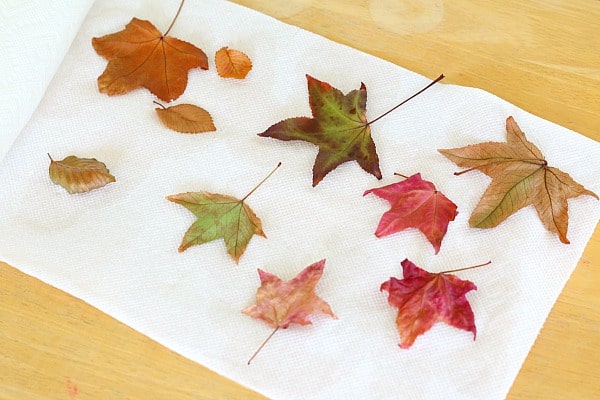
Make Sure Leaves A Fully Dry
Place the leaves on top of two paper towels, and then cover them with a third paper towel. Microwave the leaves for 30 seconds at a time and be very careful. Check the leaves for dryness as you go. Once you’re finished, let the leaves dry out for a day or two and then spray them with acrylic spray.
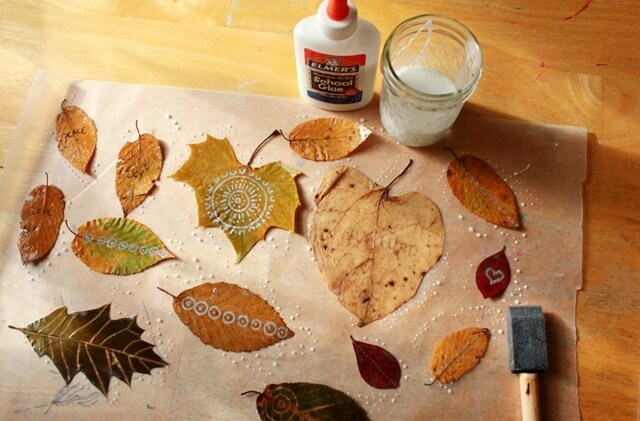
Another method is to use Mod Podge, which is a glue, sealant, and finish that is readily available at all craft stores. First, press the leaves and then brush one side of a pressed leaf with Mod Podge. Allow it to fully dry, and then brush the other side. That’s it! The leaf will be perfectly preserved.
Now that you have perfectly pressed and preserved leaves, you can get as creative as you like!
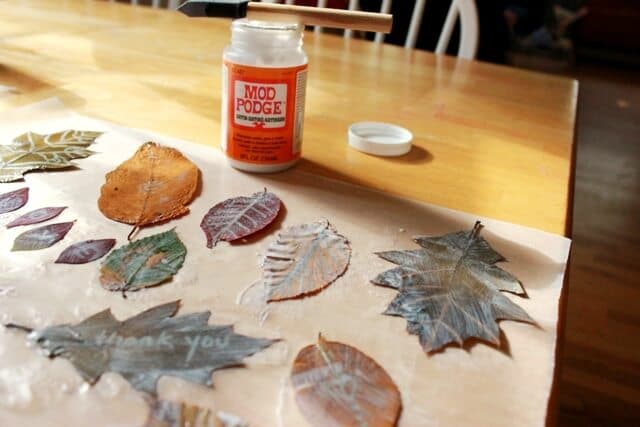
Use Mod Podge